We have been working like gang busters and we haven't had a chance to post all that has been happening.
After the drywallers left it was our task to start priming the walls. The primer is from Build It Naturally www.builditnaturally.com
They are located in down town Asheville. The primer is low VOC (volatile organic compounds), made from natural raw ingredients and they have a pleasant smell. It was great to work with.
We picked up this bio degradable drop cloth from Lowe's.
As we painted, Jim B. and his crew began installing the ceiling. We had planned to do this ourselves but after seeing them work, our time constraints with getting the C.O. (certificate of occupancy), and with me hurting my back; we were really glad we had Jim and his crew do it.
The center of the house is in the kitchen and the highest point. The T&G came pre cut from Deltec and finished with a clear coat of sealer. There were different choices and this is what we picked out. Jim and his crew had to do some custom cutting for partial walls and we had to decide how to finish the peek above the kitchen to cover up the roof truss ring/collar. It was Jim B's. idea to finish it with the T&G ceiling wood and Jim put it together. We are really happy with how it looks - like a sun shining down on us.
This is the partition wall between the living space and Jim's office. Jim is using rough wood siding and we are going to stain it.
Jim taught me how to use the power tools so I could help out.
Power tools are fun!
Feeling very proud of my work - oops - Our Work!
Both walls are looking great.
Next Jim started on the kitchen cabinets. These are the base frames and will be trimmed out after the counter tops are installed.
I started staining the doors. All the bathroom doors and exterior doors have to be installed to get the C.O. You can't install a pocket door that isn't finished unless you are planning on removing it. Doors that are hung can be painted or stained in place. We have mentioned that the stains are from Build It Naturally as well. They are water based, they don't stink, they go on really nice, and dry really fast (about an hour).
We decided to paint the bathrooms before the plumbing fixtures were installed (toilets and sinks). We didn't want to have to paint behind the toilets. This is the basement guest bath - PURPLE! Actually it is called Wild Orchid and it is from Build It Naturally as well.
This is the Master Bath. The pocket door looks good and the vanity area is coming together as well. The color is Cinnamon. It matches one of the colors from the Mexican hand painted sink vessel.
The vanity is two end tables from our house in Florida and Jim added the wood top. Below the sink will be baskets for storage.
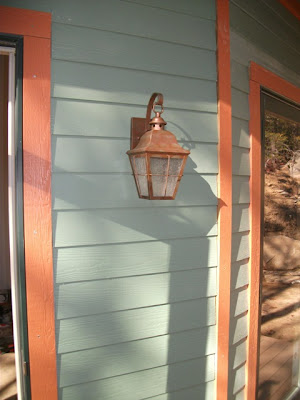
Jessie from Hayes Electric is back to put in all the electrical outlets and install lights, fans and most things electrical. I said in an earlier blog that the company was Haynes but Jessie corrected me - it is Hayes. I may still have it wrong! Jessie - let me know, ok!
Dane was also back as well and installed fixtures.
While all that was going on Jim B. and his crew were also working on the steps and hand rails to the front entry deck.
They also put in the deck at the utility room. It looks so good it looks like the front door entry.


No comments:
Post a Comment